I added a few more wood pieces and some net pots. I ran the drainage tubes, from the net pots, below the false bottom on the back wall.
I positioned the firefly LEDs and the thermometer and humidity sensor.
Finished foaming. Lots of carving to do. My least most enjoyable thing to do while building vivs. This was my first time using touch n foam as opposed to great stuff. I can say it expands a lot more than GS. I used the landscaping version because it's black.


Some close ups of LED positions. The ones with the wires wrapped around wood, are going to be disguised as vines. The rest will be built into the background.
I did a 1 minute exposure in the dark and ran the fireflies so you can see all positions at once.
FIREFLY LIGHTS IN TANK - TEST
Prepping for background. I usually lay the tank flat when I apply expanding foam. I don't have that ability with the tank already installed. So to aid in application I built out areas I knew there was going to be a thick layer of foam with small pieces of egg crate. It gives me the general shape of the background and builds a pretty solid structure with all the pieces interconnected like a web. Hopefully the foam grabs on nicely and simple doesn't fall to the ground.


I decided to go with the Polygem stuff. I made 3 "rock" areas on the background to break it up a bit. The egg crate skeleton worked like a charm. It was easy to adhere and mold the epoxy.
I also started foaming a bit. Just in the areas I need completely filled so frogs don't make their way in. Again, the egg crate helped. A lot.


Top and bottom U-Channels installed. These two pieces is what is going to hold the front glass in and allow me to slide it open for feeding and maintenance.

1st foam carve pass done. Big chunks removed. Enough carving for today. Finer carve tomorrow.


Started finer carving and trimming of the foam. I needed to get into tight spaces and the serrated knife I was using wasn't cutting it (pun intended). So I went to my trusty Dremel multi-max tool. It work out perfectly. I used the flush saw blade, for finer trimming, and sanding disc to remove any foam that covered the wood. Hard to see from this pic but I was able to expose more wood. I will be trimming some more.
2- Lighting :
As the spyra dries to the foam background, I started working on the RGB LED lights that will add color to the day night cycle. Orange for the sunset/sunrise, blue for moonlight and red/blue, with the grow lights on 100%, during full sun for maximum plant absorption.
I wired them in parallel so each strip gets equal amount of power. That, and it is easier to build a wire harness with a parallel hookup.
I wired 8 strips, which is probably overkill, but I haven't done this before so I figured disconnecting lights, or lessening the power, will be easier then adding more once they are in place.
They are not hooked up to the TC420 controller yet. I just hooked them up straight to the power supply for testing purposes. Good news is that I got the wiring soldered correctly first time around and I tested each color individually.


Playing around with the TC420. Heres moonlight.
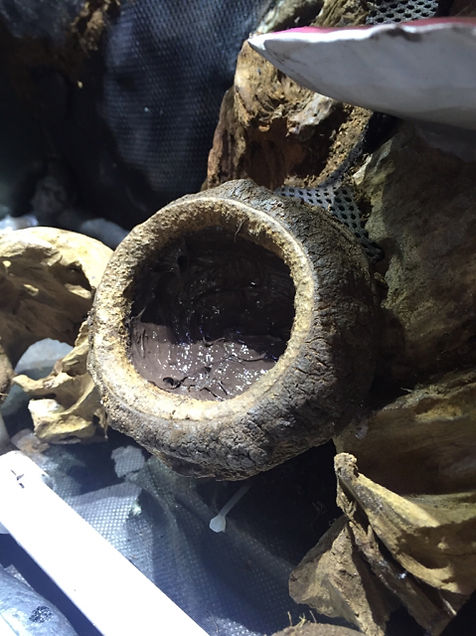
Spyra glued and trimmed on background. Everywhere I used spyra I will be growing different species of moss. So if you can imagine all the black areas green once it's grown in (hopefully). Firefly LEDs, that are not part of the background, are disguised as vines. Thermo/humidity sensors disguised as vines as well. Zoopoxy fake rocks are painted. Monkey pods have been lined with brown silicone on the inside.
Vines. Vines. Vines. A few touch ups needed as installing took some coco/peat off.
Some more tidbits done.
First layer of substrate in. ABG mix. I love how the tree roots look. I added a tall boulder as a final hardscape piece.
Misting nozzles installed.
My view of the tank as I go up and down the stairs. Nice to see.
I


Playing around with some sunrise/sunset color. What do you guys think of this:

Moss mix has been spread on the spyra. MistKing is on a schedule via the herpstat4. Kessil lights are on a day/night cycle. Let's grow some moss. Hopefully.
I never had any luck growing moss in my other vivs. I used the dry stuff because they claimed on the sites, I bought them from, that they would come back to life. Never did. Maybe my lights were too weak or not enough watering.
This time around I found a local supplier of live moss mix. My lights are pretty strong and I have the spyra to hold moisture. Let's see what happens.
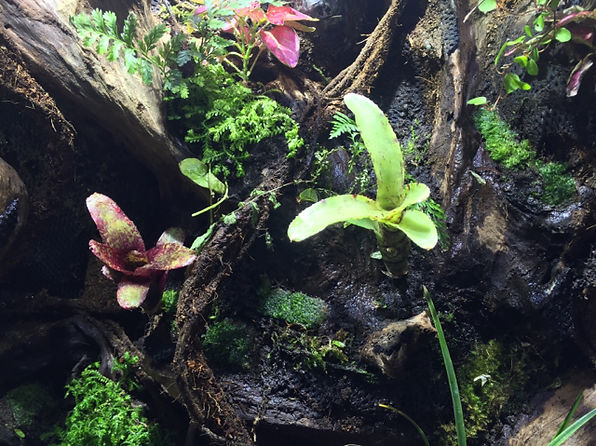
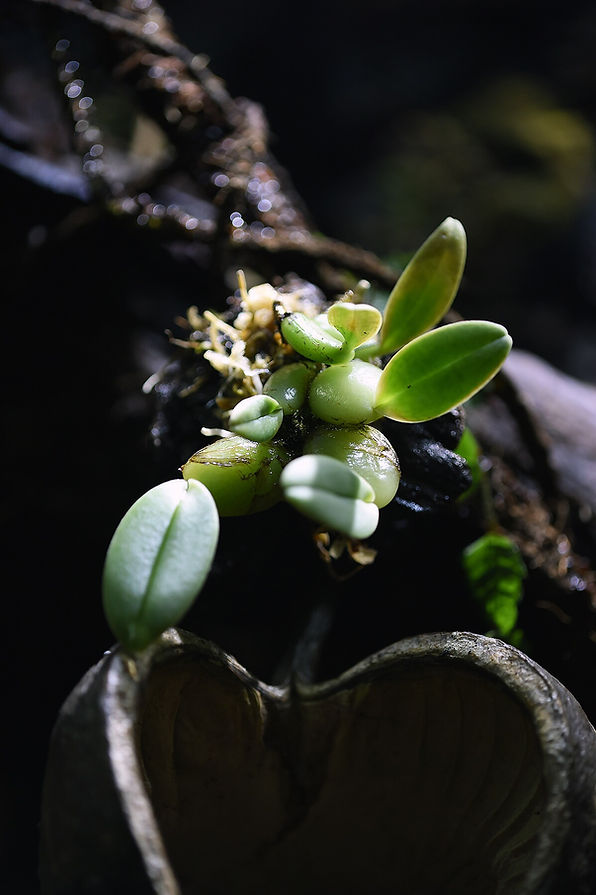
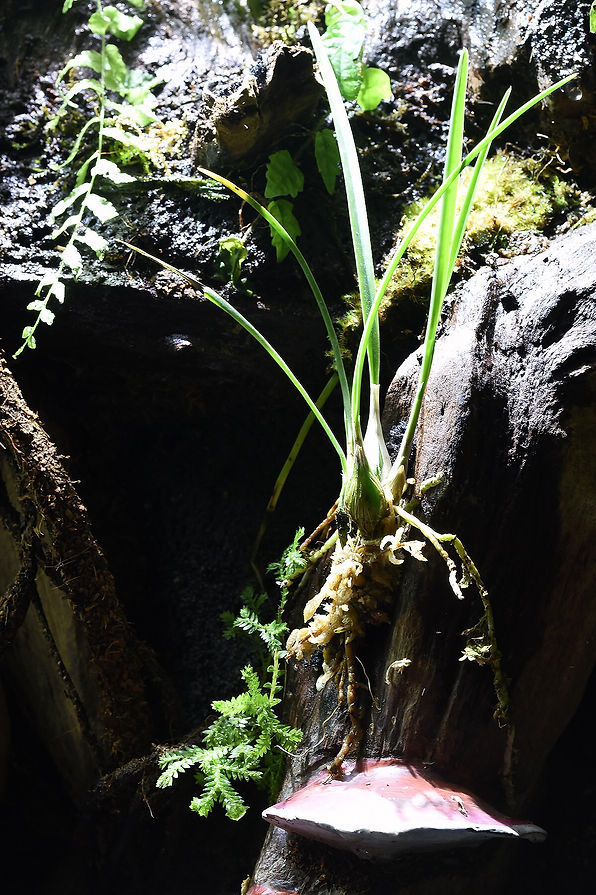
Picked up some plants over the weekend from a local supplier, The Green Oasis. I'm not a plant expert, so if you can help me identify some of these that would be great. If you know if they need low, medium or high light that would also help. Cheers!


Purchased some miniature broms today locally.


Growth update. 4 months.


DIY 4 : Custom In-Wall Vivarium :


